
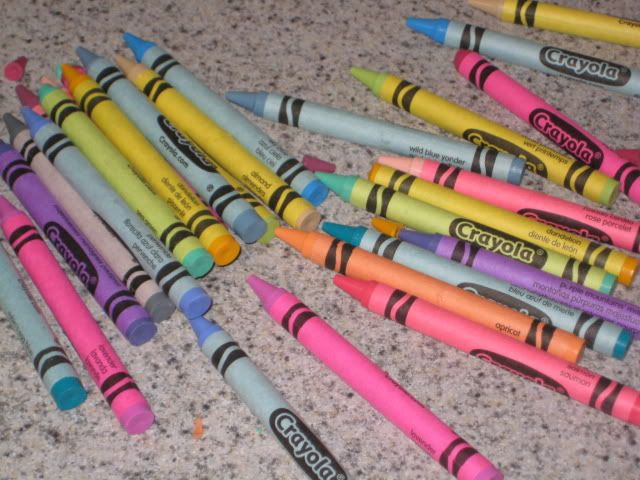
 Step 2: Get to peelin'. This is the toughest part. Takes a few minutes.
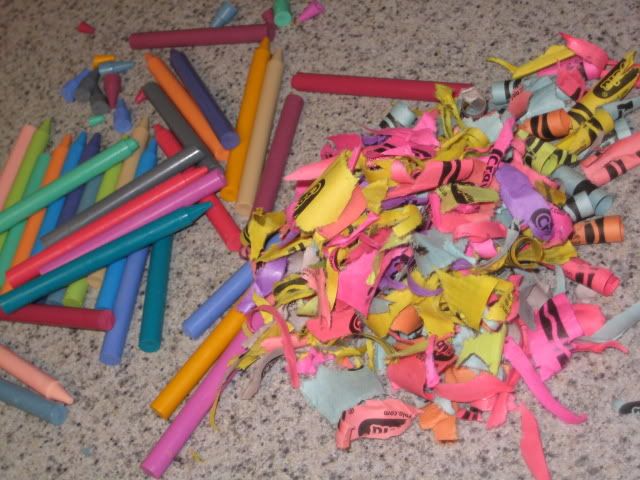 Step 3: Break these up into small chunks (usually 3-4 breaks per crayon)
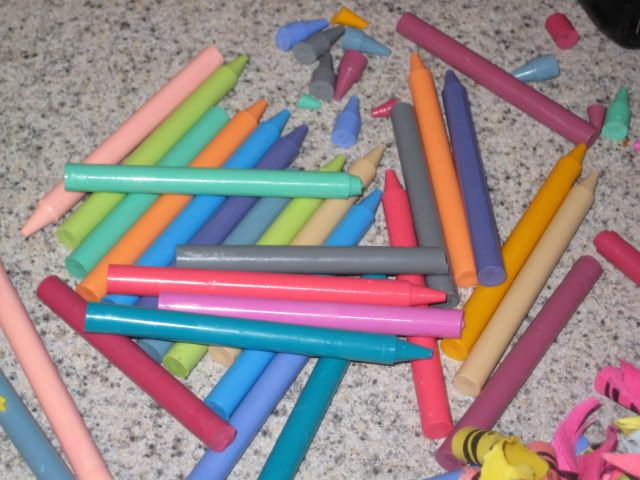 Step 4: Place chunks into oven safe container of your choice. Lesson Learned: I used a metal Christmas tree pan and getting them out with all the delicate edges was tough. I would recommend silicone pans as they are bendable. If you use a silicone pan, it'd probably be best to place it on a cookie sheet for stability when moving it in and out of the oven.
Step 5: Heat in oven at around 350 for 8-10 minutes (until completely melted).
Step 6: Carefully remove from oven. Let cool. Lesson Learned: Avoid unnecessary jiggling and place in a out of the way place to cool. Melty crayon splashes from accidental bumps and nudges are hard to get up once they dry all over your pan and counter.
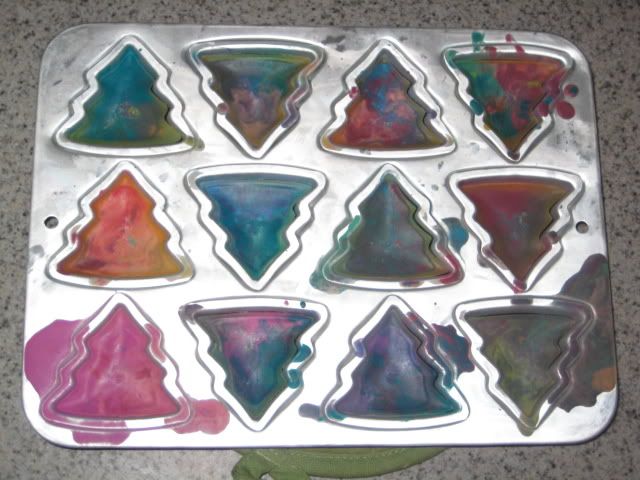 Step 7: After totally cooled and hardened, pop them out and color the day away!
2 comments:
This seems like a fun craft. I'll have to make some of these for my students. I could put them in my treasure box. They'd love a multicolored crayon...especially in a fun shape too! How exciting.
I made these for a "How To" Speech in 11th grade! But I made leaves...they turned out really good!
Post a Comment